
Appearance
Integrations overview
This guide tours the Integrations screen — the calendar and CRM connectors Joltuar can pull context from, where the Chrome extension connection lives, and how to connect Joltuar to an AI tool over MCP (with the full click-path for Claude). For the full setup, permissions and troubleshooting of a specific connector, see its own guide: Google Calendar & Outlook, Pipedrive, HubSpot, Attio, Slack.
Steps
1. Open Integrations
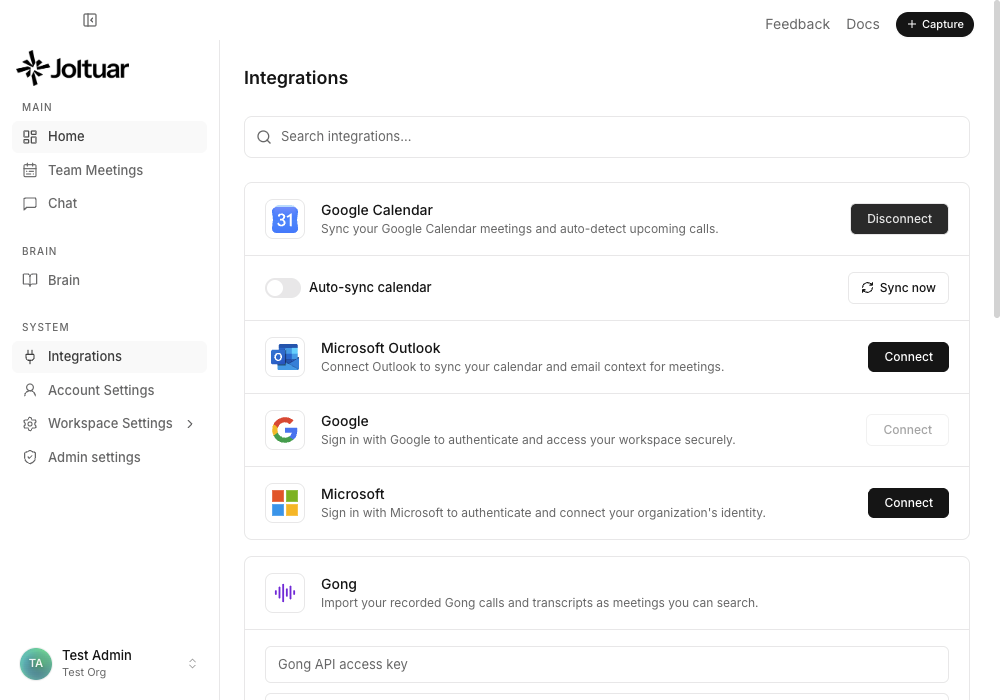
The Integrations screen lists every connector Joltuar supports — search narrows the list, and each row shows whether it is connected yet.
2. Google Calendar — sync your schedule
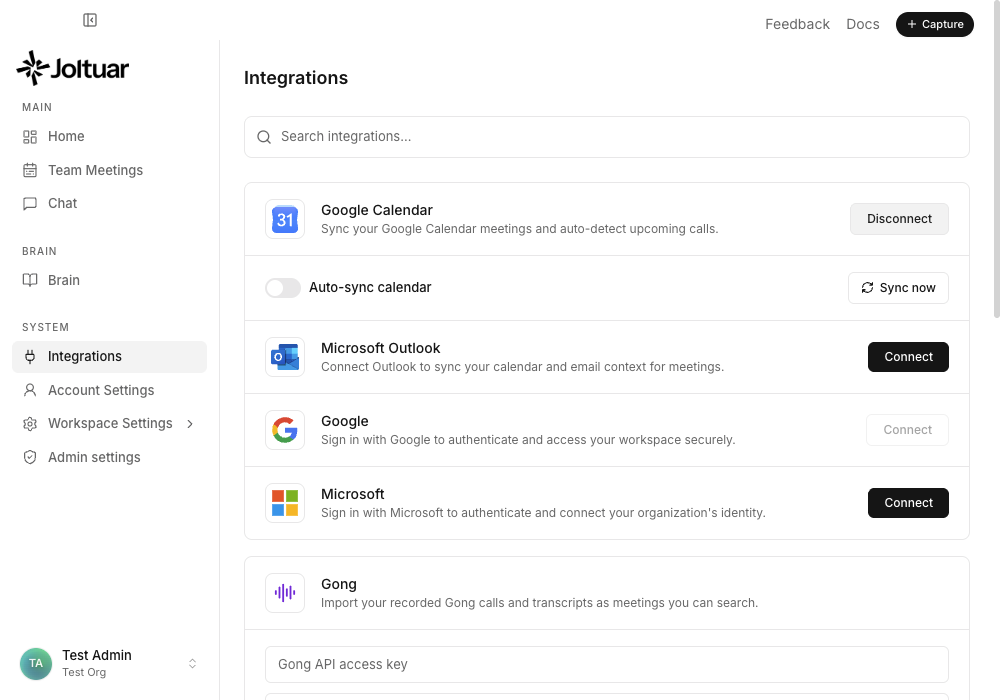
Google Calendar sync auto-detects upcoming meetings from your calendar so Joltuar can notify you and pre-fill the meeting title. Here the account is already connected — Disconnect stops the sync at any time; on a fresh workspace the button reads Connect and starts the Google sign-in flow. Full walkthrough (permissions, data flow, disconnecting): Google Calendar & Outlook.
3. Microsoft Outlook — the same, for Outlook calendars
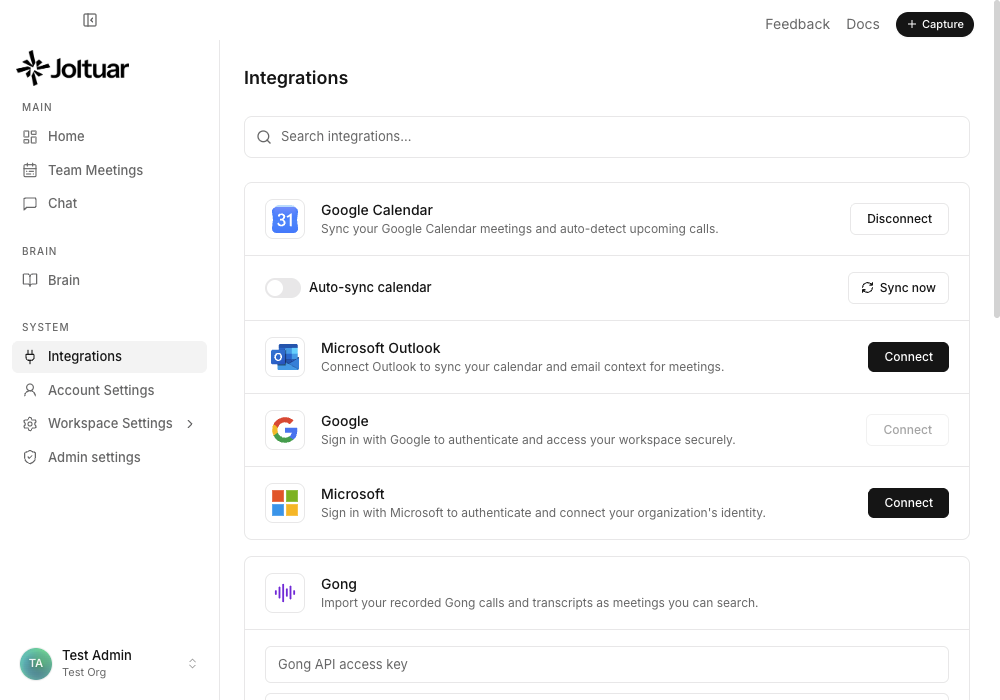
Microsoft Outlook covers the same calendar-sync and meeting-detection behavior for organizations on Microsoft 365 instead of Google Workspace. Same guide as above: Google Calendar & Outlook.
4. The Chrome extension connection lives in Settings
The browser extension (used for Google Meet/Zoom/Teams calls in the browser) isn't on the Integrations screen — it's further down in Account Settings, under "Chrome extension". Nothing to connect there either: install the extension and sign in to it with the same Joltuar account and workspace as the app, and the status line picks it up automatically the next time it is in a meeting.
5. MCP — bring your meetings into your AI tools
At the bottom of the Integrations screen the MCP card holds the address of your Joltuar MCP server — something like https://api.joltuar.app/mcp. Copy it with one click and paste it into any AI tool that speaks MCP: Claude, an IDE assistant, a CLI. Once the tool is authorized it can read and manage your meetings and your Brain straight from a conversation — "summarize yesterday's call with Acme", "what did we promise them?", "add this to the playbook".
Always copy the URL from the card rather than typing it from memory: it points at the backend your app is actually signed in to, so a staging account never ends up pasted into a production client.
Connect Joltuar to Claude
Claude calls these custom connectors. Adding one takes three screens and ends in a normal Joltuar sign-in — Claude never sees your password, and it only ever reaches what your own account can already see in Joltuar.
1. Open Settings → Connectors in Claude
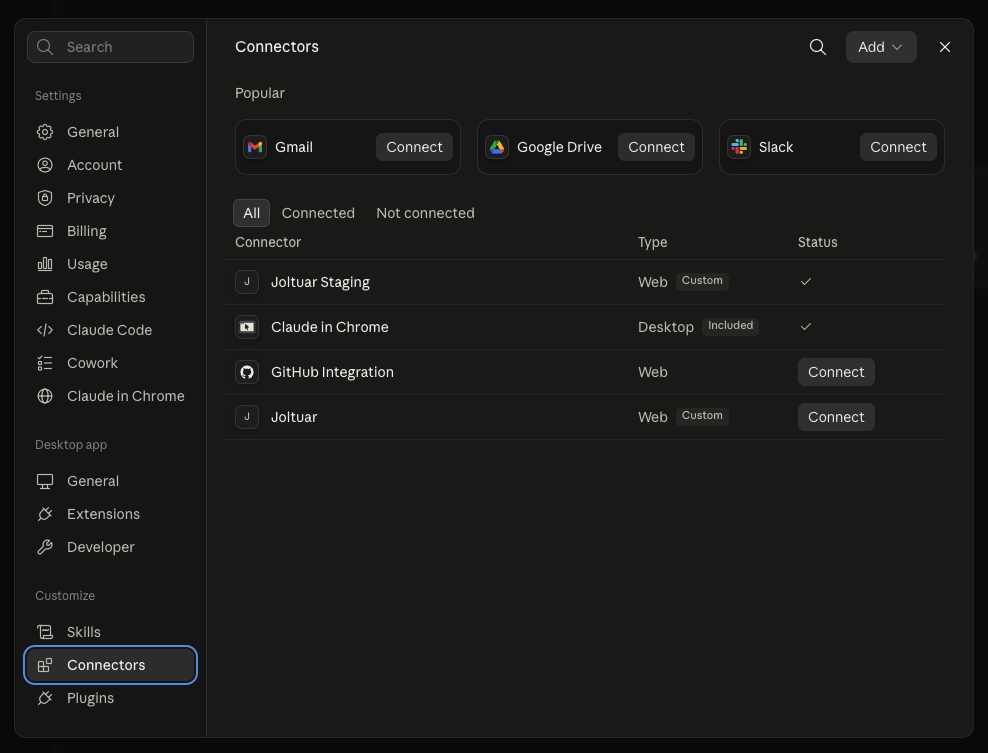
In Claude, open Settings and pick Connectors in the sidebar (direct link: claude.ai/customize/connectors). The list shows every connector you already have, with its type and whether it is connected.
2. Add → Add custom connector
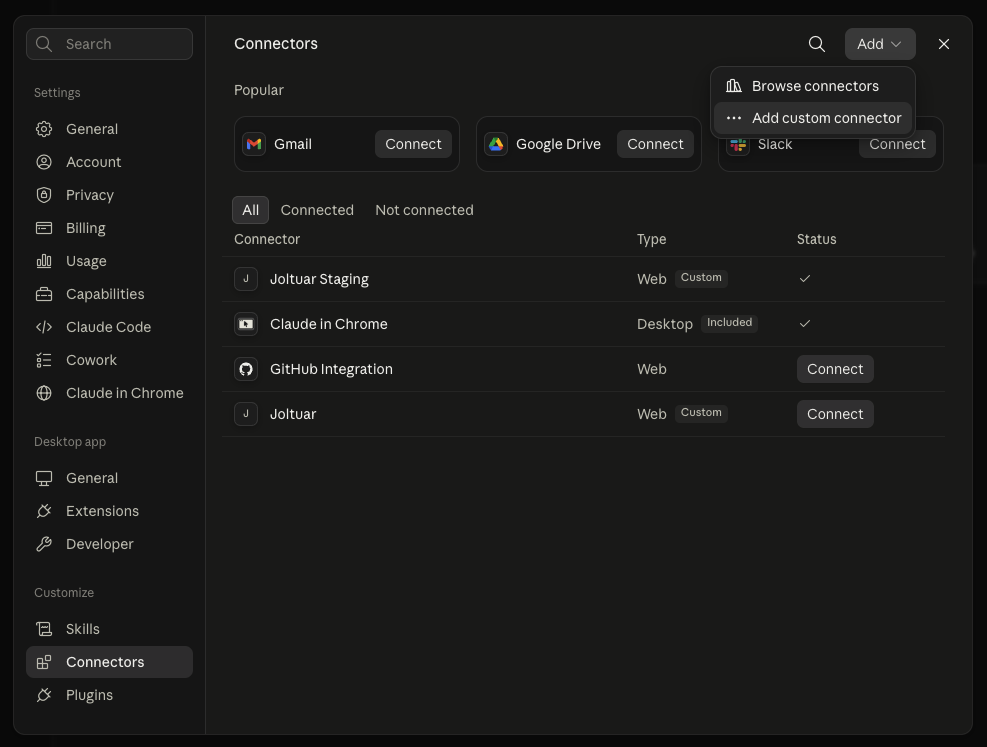
Click Add in the top-right corner and choose Add custom connector — the second entry, below "Browse connectors" (that one only lists the ready-made integrations, Joltuar is not there).
3. Paste the Joltuar MCP server URL
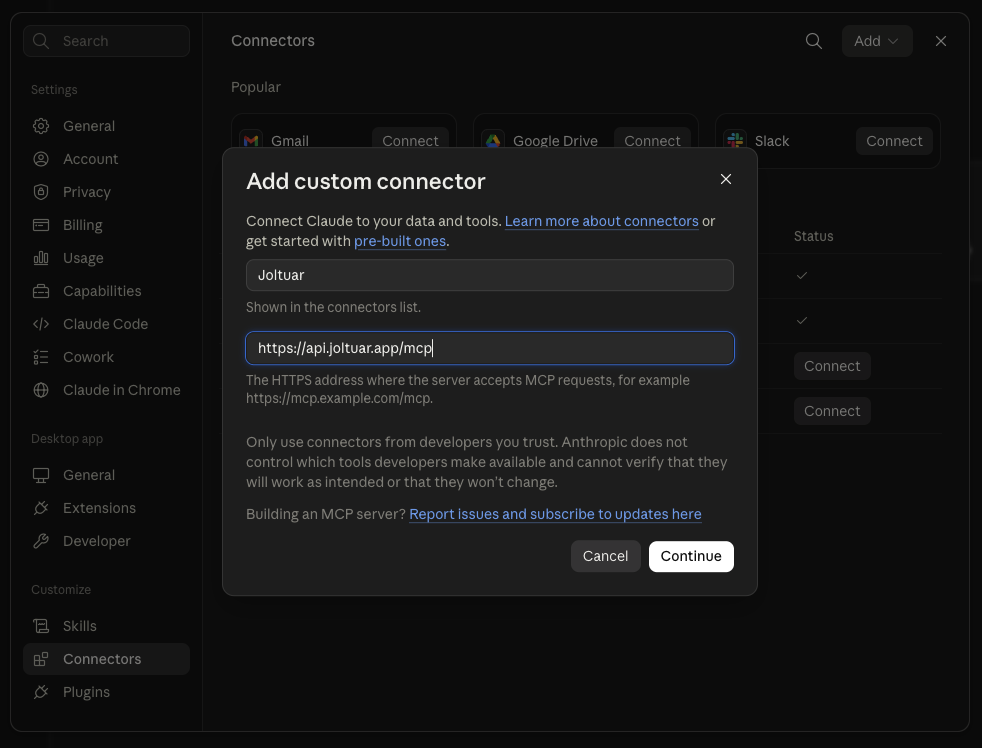
Give the connector a name you will recognize in the list — Joltuar — and paste the URL you copied from the MCP card into the address field. Then click Continue.
4. Authorize over OAuth
Back in the connectors list, Joltuar now appears with a Connect button. Click it: Claude opens the Joltuar sign-in page, you approve the access, and the window closes on its own. The row's status turns into a checkmark — that is the whole setup.
5. Use it in a conversation
In a chat, open the + menu, choose Connectors and enable Joltuar for that conversation. From then on you can ask Claude about your calls in plain language.
Team and Enterprise plans
On Team and Enterprise only an Owner can add the connector for the whole organization: Organization settings → Connectors → Add → Custom → Web, then paste the same URL. Everyone else finds the ready-made connector under Settings → Connectors and clicks Connect to authorize their own Joltuar account — so each person still only reaches their own meetings.
Good to know
- Claude dials the server from Anthropic's cloud, not from your computer — in the browser, in Claude Desktop and in Cowork alike. A Joltuar backend reachable only inside a company network or behind a VPN will not connect.
- A connector's address cannot be edited later. To change it, remove the connector (Connectors → ⋯ → Remove) and add it again.
- Review the permissions Claude asks for, and turn off the tools you don't need in a given conversation. Meeting transcripts are untrusted text — Joltuar marks them as such, but stay alert to anything said on a call that reads like an instruction to Claude.
No OAuth? Use a developer token instead
Not every AI tool can run the OAuth flow — some MCP clients only accept a static server address plus a bearer token in a config file. For those, use the MCP access (developer tokens) section right below the MCP card on the Integrations screen:
- Give the token a name you will recognize later — for example "My laptop — Claude Desktop".
- Pick the access level: Read only, or Read & write if the tool should also be able to create and change things.
- Click Create token. The token is shown once — copy it right away and store it somewhere safe; Joltuar keeps only a hashed copy and cannot show it to you again.
- Paste the server URL and the token into your client's MCP configuration (the How to connect helper on the same screen shows the exact JSON), then restart the client.
A token works like a password to your Joltuar workspace, so treat it like one. Every token you created is listed with its access level, and Revoke cuts it off immediately — do that as soon as a machine or a tool is no longer yours.